What to Expect During Awning Installation
If you are planning to add an awning, the part most people underestimate is not the fabric, the frame, or even the motor. It is the installation. A well-made awning only performs as well as the structure holding it, and that is why the awning installation process matters as much as the product itself.
For homeowners, the goal is usually simple – more shade, less heat, and a patio or deck that gets used more often. For commercial properties, the stakes can be even higher. A restaurant patio awning or storefront shading system has to look sharp, handle frequent use, and stand up to changing weather without becoming a maintenance problem. In both cases, professional installation is what turns a good purchase into a long-term upgrade.
Why the awning installation process matters
An awning is not a one-size-fits-all product. Wall construction, projection, mounting height, sun exposure, drainage, wind conditions, and clearance all affect what can be installed and how it should be secured. That is why a proper installation starts well before any bracket goes on the wall.
This is especially true with retractable awnings, motorized systems, and larger custom units. These products add comfort and curb appeal, but they also place specific loads on the mounting surface. If the measurements are off or the support is inadequate, the awning may not open correctly, pitch water properly, or hold up over time. The right process reduces those risks from the start.
Step 1: Site assessment and planning
The first stage is understanding the space. This is where an installer looks at the wall or structure, checks dimensions, reviews sun direction, and identifies anything that could affect performance. Roof overhangs, soffits, downspouts, outdoor lighting, brick condition, siding type, and door swing can all change the plan.
For a residential project, the installer is usually looking at how much coverage you want over a patio, deck, balcony, or terrace, and whether the awning should be manual or motorized. For a commercial project, there may also be branding considerations, customer flow, sidewalk clearance, or the need to cover a larger seating area.
This stage is also where trade-offs become clear. A wider awning may give you more shade, but it also needs the right wall support and mounting layout. A full-cassette model offers better fabric protection when retracted, but it usually needs enough space to mount at the correct height. A motorized awning adds convenience, though it may require power access or electrical planning.
Step 2: Measurements and product selection
Once the site is assessed, the next part of the awning installation process is selecting the right system and sizing it correctly. Width and projection are the obvious measurements, but not the only ones that matter. Installers also look at mounting height, arm clearance, pitch angle, and whether the awning needs to clear windows, doors, railings, or signage.
This is where custom work has a real advantage. A custom-fit awning is designed around the actual space instead of forcing the space to work around a standard product. That usually means better coverage, better proportions, and fewer installation compromises.
Product selection depends on how the awning will be used. A folding arm retractable awning works well for open patio shading without posts blocking the area below. A full-cassette system is ideal for buyers who want a cleaner look and more protection for the mechanism and fabric. For larger outdoor living spaces or hospitality settings, a pergola or drop shade system may be a better solution than a wall-mounted awning alone.
Step 3: Preparing the mounting surface
This is the stage many DIY attempts get wrong. An awning must be anchored into a sound structural surface. That may be masonry, concrete, wood framing, steel support, or another reinforced substrate. The outer finish alone is not enough. Brick veneer, siding, stucco, and trim can hide conditions that need a different mounting method.
A professional installer identifies where the structural support actually is and chooses hardware that matches the load and surface type. On some projects, additional backing or reinforcement may be needed. That can add time to the job, but it is better than installing onto a weak surface and dealing with movement later.
This step also affects how clean the finished result looks. Proper spacing, bracket alignment, and weather-sealed penetrations help protect the building envelope while giving the awning a secure, finished appearance.
Step 4: Bracket installation and frame mounting
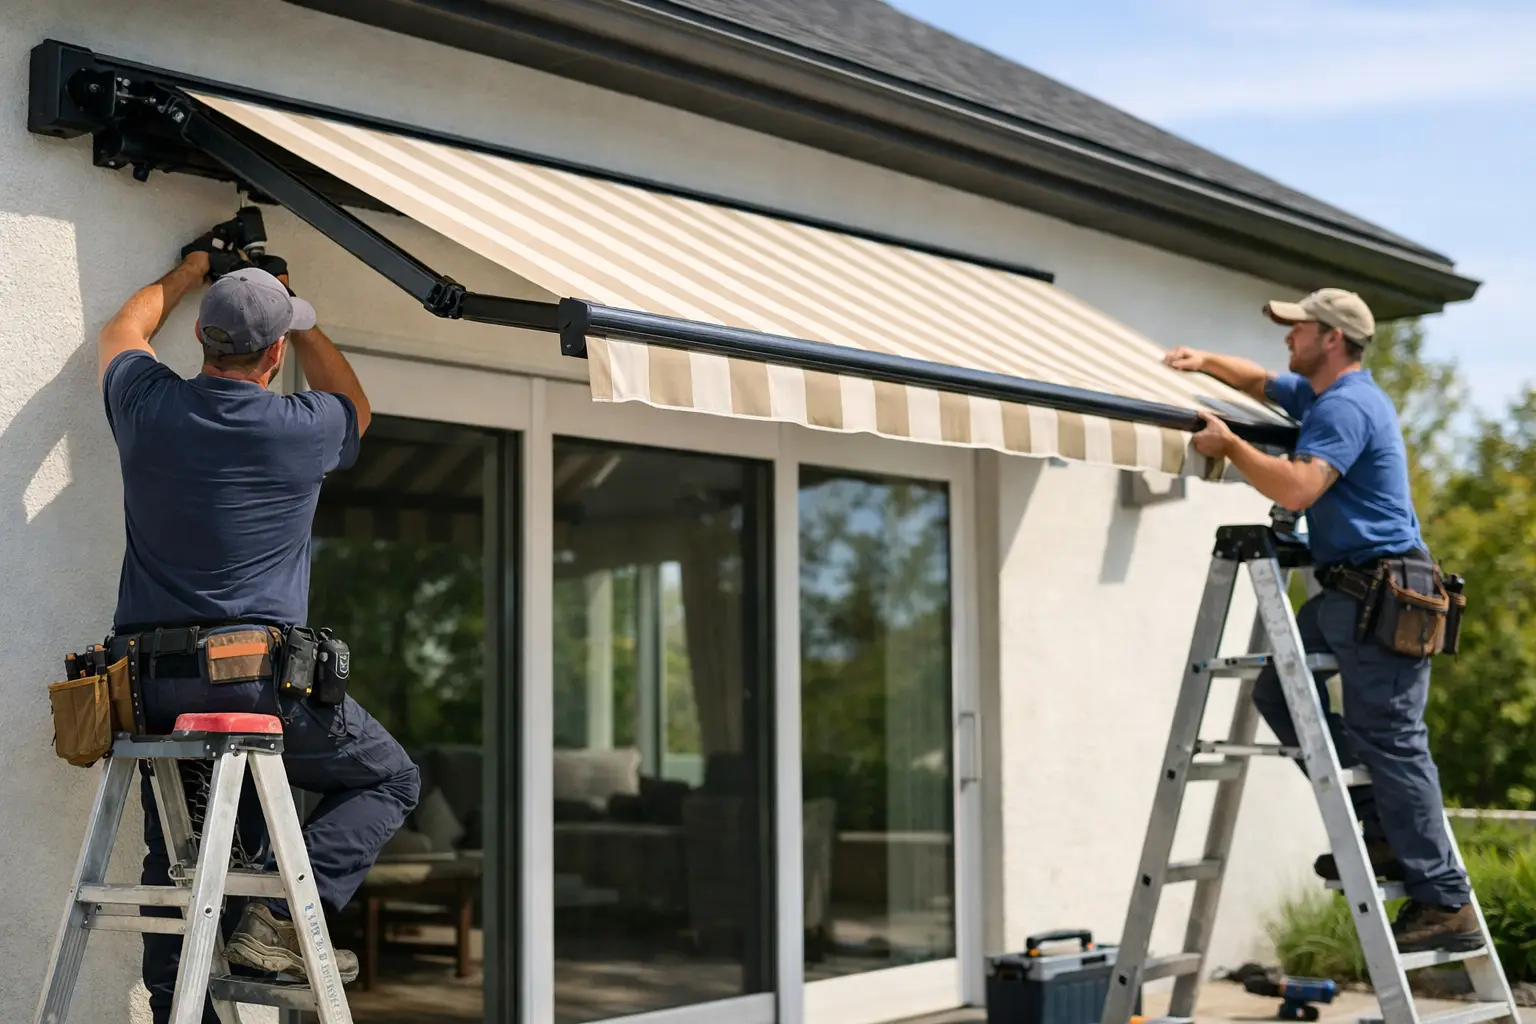
Once the wall is ready, the brackets are installed according to the awning’s size, weight, and engineering requirements. Placement is precise because even slight inconsistencies can affect how the frame operates. With retractable systems, that precision matters even more. The roller, arms, and front bar all need to work in sync.
After the brackets are in place, the awning frame is lifted and secured. For smaller manual units, this may be fairly straightforward. For large retractable awnings or commercial installations, the frame can be heavy and require multiple installers and careful handling to avoid twisting or uneven loading.
At this point, the structure is attached, but the work is not finished. The installer still needs to check level, pitch, extension, and overall operation before the job is considered complete.
Step 5: Motorization, controls, and electrical setup
If the awning is motorized, electrical connection and control setup are part of the installation. This can include wall switches, remote controls, smart controls, or integrated sensors. Some systems can be paired with wind or sun sensors that automate opening and closing based on conditions.
Motorization is one of the most popular upgrades because it improves daily use. A large awning that gets used often is far more likely to be opened and retracted regularly if it operates with a button instead of a hand crank. That convenience also helps protect the awning because users are more likely to close it when weather changes.
The exact setup depends on the model and power source. Some projects are simple and ready for connection. Others may need electrical coordination before the awning is installed. This is another reason planning matters early.
Step 6: Adjustments and testing
A proper awning installation process includes final tuning, not just assembly. The installer tests the opening and closing cycle, checks fabric alignment, sets the pitch, confirms the front bar closes evenly, and looks for any interference or uneven arm movement.
Pitch adjustment is especially important. Too little pitch and rainwater may not run off effectively. Too much and you may lose headroom at the front edge. The right angle depends on the model, the mounting height, and how the space below will be used.
For commercial installations, testing may also include making sure the awning works cleanly around signage, lighting, patio furniture layouts, or customer access points. Good installation is not just about whether the awning opens. It is about whether it works properly in the real setting where it will be used.
What can affect installation time?
Some awnings can be installed relatively quickly, while others take more coordination. The biggest variables are size, mounting conditions, customization, and whether motorization or integrated features are involved.
A straightforward residential wall-mounted awning on a solid surface is usually simpler than a large custom commercial system with electrical work, multiple sections, or challenging access. Weather can also affect scheduling, particularly when lifting large units or working on exterior masonry.
That is why the best installation timelines are realistic, not rushed. Faster is not always better if it means skipping structure checks or final adjustment.
Why professional installation pays off
There is a clear difference between getting an awning attached and getting it installed correctly. Professional installation protects the product, the property, and the investment. It also gives you better performance from day one.
With a company that handles consultation, customization, delivery, and installation, the process is usually smoother because the product and the site plan are aligned from the beginning. That is a major advantage with custom retractable systems, motorized awnings, and larger outdoor shade projects. If you are comparing options, it helps to work with a provider that understands both the product side and the structural side, like Welda Solar Shading Systems.
The real value of an awning is not just in how it looks on install day. It is in how reliably it operates through hot afternoons, light rain, busy weekends, and season after season of regular use. That starts with careful planning, proper mounting, and final adjustments done right.